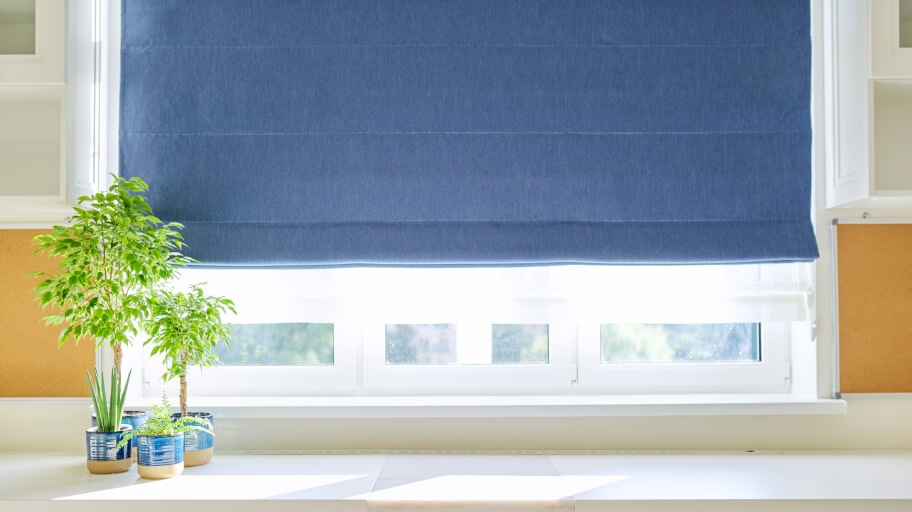
A unique version of roller blinds are the widely known Roman blinds, or more accurately Roman shades. What differentiates them from other options is that they are made of only one piece of fabric, which draws up into pleats. This means that by simply pulling its cord, you can adjust the height of the shades and control the light and level of privacy you get. This makes Roman blinds easy to use, very stylish and when lowered, efficient in terms of blocking the sunlight.
Due to their numerous benefits, Roman blinds have become a popular choice among homeowners in Australia. If you, too, are thinking of styling your space with Roman blinds, you would like to know that they are relatively easy to install. In this article, you will find simple step-by-step guides on how to install Roman blinds seamlessly using either an inside or outside mounting.
Is it easy to install Roman blinds?
Roman blinds are made of one fabric piece and several corded slats, though there are also cordless models. When the cords are pulled, the slats lift together and fold the fabric into pleats.
The shades come in a variety of colours and textures, which makes them suitable for any home decor, but they are usually hung in more formal or traditionally styled rooms. Roman shades also look great on small windows. Some are made of PVC or plastic, suitable for kitchens and bathrooms, while others can be made of linen, silk, cotton or seagrass.
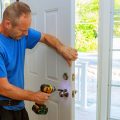
If you are already convinced that these blinds are the right choice for your home, you must be currently wondering how to hang Roman blinds yourself in a way that will still look professional. The good news here is that fitting Roman blinds is actually an easy DIY home project. As long as you have the necessary tools and some basic skills, you will be able to handle the task over the course of just a few hours.
Two different methods of installing Roman blinds exist. Those are the inside mount and the outside mount techniques. Both the final appearance of the shades and the amount of light you will get will depend on which style you decide to go with.
Hanging Roman blinds by using an inside mount means the blinds will be fitted inside the window opening and the blind brackets will be screwed into the top of the window recess or its sides. Inside mounting is characterised by a neat, tidy look. Also, even when the blinds are completely lowered, objects and decorations placed on the windowsill will be still visible from the outside.
Alternatively, with the outside mount, the blinds are installed on the wall over the window or the architrave itself, covering fully the window opening. Generally, this method is seen as more suitable for Roman shades as they require more depth and not every window recess can provide such depth. Additionally, outside mounting provides full window coverage, more privacy and less light.
Installing Roman blinds – DIY instructions
Although hanging Roman blinds can be fairly easy, the task shouldn’t be underestimated. Adequate preparational work is always a must. Check the list of necessary tools and materials for the Roman blinds’ installation, which we’ve prepared for you, and make sure you have them all on hand before you start work. Once you have prepared properly, refer to the simple steps below to learn how to install Roman blinds with an inside or outside mount.
Tools and materials
- Measuring tape
- Pencil
- Ladder
- Spirit level
- Power drill
- Impact driver
- Brackets
- Screws
- Cord cleat
- Safety glasses
Inside mounting of Roman blinds
If you have the above-mentioned tools, it is time to get down to work! Here is how to install Roman blinds inside mount:
- Measure the window recess – Determine your window dimensions by measuring 3 spots along the width or height. For an inside mount, use the shortest lengths when purchasing your blinds. Allow 30mm clearance at each side of the blind. Roman blinds can also be trimmed to fit if the size of your window is non-standard.
- Mark the bracket holes – Decide whether installation on the ‘ceiling’ of the window opening or sides will work best for you. Hold the headrail against the recess and mark where the brackets will go, making sure they are evenly spaced and not set too deep in the recess, as the blind will need space to fold. Using the bracket holes, make markings for the screws. Pre-drill the holes.
- Attach the brackets – Place the brackets over the pre-drilled holes and screw them into place. For inside mounting, the screws will need to go through the holes in the upper part of the bracket. Use an impact driver for more firmly attached brackets.
- Hang the Roman blinds – How you hang Roman blinds will depend on the model. Some models come with pins on the brackets and slot holes in the headrail. If that is your case, push the blind up so that the pins go through the slot holes, then tighten with wing nuts. Other models come with a recess in the headrail and all you’ll have to do is clip it onto the brackets.
- Screw the cleat in – Attach the cleat to the window frame, but high enough so it stays out of children’s reach.
Outside mounting of Roman blinds
If you like the look of the exterior blind mount better, check below the instructions for an outside mounting of Roman blinds:
- Measure the window area – Measure at least 3 spots along the width and height of your window. For an outside mounting, you will need to use the longest lengths to ensure that the blinds will cover the window completely. The edges of the blind should go beyond the edges of the window.
- Mark the bracket holes – Holding the blind headrail up, place it against the architrave or the wall above. Use a spirit level to make sure the headrail is straight and make marks at the top of the headrail, then set aside the blind. Using the bracket holes, mark the points and pre-drill.
- Mount the brackets – Place the brackets against the pre-drilled holes and screw them into place, using the vertical sides of the brackets. Remember, an extra bracket in the middle is always a good idea.
- Install the blinds – Position the pins on the brackets inside the headrail holes and push up. Holding the blind with one hand, tighten the wing nuts with the other. Make sure the headrail is securely tightened.
- Attach the cleat – Look for a location outside the blind’s edges or your window where to mount the cleat. Screw it at a height of at least 150 cm to keep it high enough from the kids’ hands.
Takeaways
- Roman blinds boast design diversity, practicality and easy light and privacy control.
- The installation can be a quick and very straightforward task, as long as you have some basic tools and skills.
- Two methods for installing Roman blinds exist and those are inside mounting and outside mounting.
- If you don’t have the time or skills, consider contacting handymen for a professional blind fitting.
Looking to style your home with new Roman blinds?
Trust Fantastic Handyman for a smooth blinds installation!
You can book our handyman services in Melbourne, Sydney, Brisbane and Perth!