Everyone has a dream home renovation project. But while it’s nice to dream big, large-scale projects require a lot of resources and time that people, more often than not, don’t have. Luckily, there are various small improvements that you can do to make your place cosier and feel like your home. We’ve compiled some budget-friendly home improvement ideas for all of you who are trying to save some money or learn how to do something new.
Upcycle old furniture
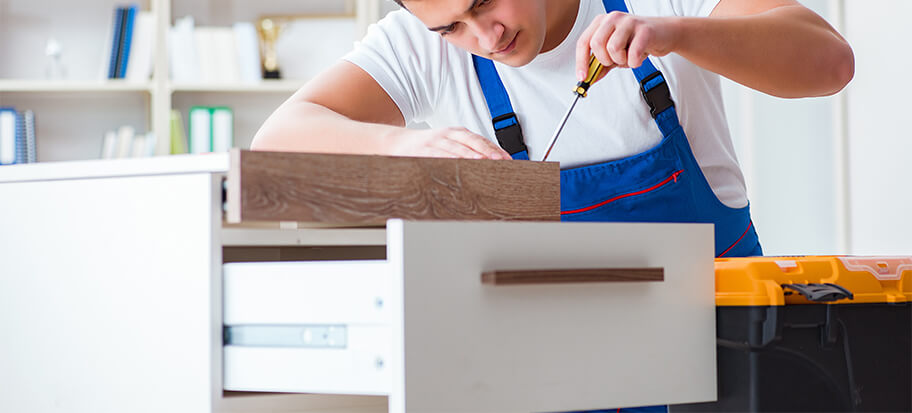
Give old furniture a second chance by upcycling it. Cabinets, drawers, tables, you name it – you can transform anything to fit your personal style.
- Cover it with peel and stick wallpaper – The name says it all – peel and stick. The two-step application is just as easy as it sounds, which makes it perfect for beginner DIY enthusiasts. To give your furniture a vintage look, you can gently sand the surface afterwards, which is another way to cover imperfections.
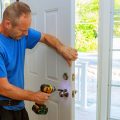
- Replace cabinet hardware – Replacing the original knobs and handles on your cabinets with new ones is a budget-friendly way to add style to your furniture. This small detail gives a sense of personal touch and unifies the looks of your cabinets.
- Repaint metal furniture – Repainting metal furniture might be necessary not only for aesthetic purposes but also to prolong the life of the piece. Sometimes just a light knock is enough to disturb the paint and expose the metal to humidity. From there it’s just a matter of time before rust starts to develop. A fresh coat of paint will stop it from spreading and protect the furniture from further damage.
We advise you to scrape the peeling paint, sand off the rust, clean the piece with solvent, apply primer, spray on one or two coats of paint and finish by using a protective layer of sealant. Depending on your paint of choice, the process might vary.
Renovate your kitchen
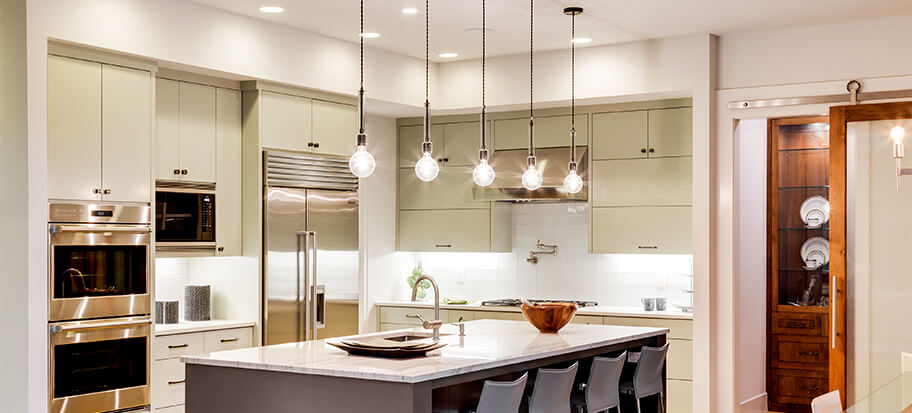
We spend a lot of time in our kitchens – from cooking to eating, so they need a little bit of special attention to make our time there more enjoyable.
- Add a peel and stick tile backsplash – Easy to apply, with various tile styles, peel and stick backsplashes are gaining popularity. Within minutes, you can transform your oven backsplash with brand-new faux stone tiles or add an entire “wooden” wall in your bathroom. High-quality peel and stick tiles are water, humidity and heat resistant and can be cleaned with a sponge and a little bit of cleaning product.
- Install track lighting – Track lighting is a preferred choice by many to brighten up a kitchen (or workspace or garage). However, installing track lighting requires knowledge, expertise and official accreditation. So if you want to have track lights properly installed in your kitchen, feel free to contact us and we’ll readily assist you.
Renovate your bathroom
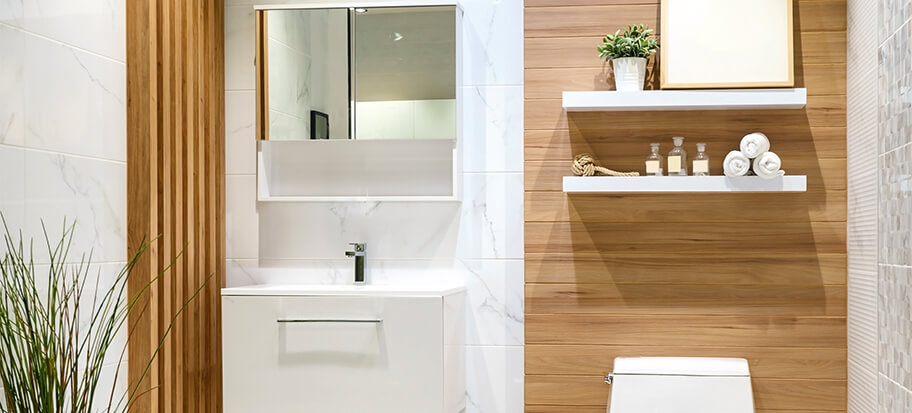
If you install a big mirror with several lights above, it can instantly make your bathroom look bigger and brighter. Here are other changes you can make:
- Update light fixtures – You’ll be surprised how much light fixtures can change. Depending on your wants and needs, you can have lighting accessories that softly diffuse the light or concentrate it in one or several spots. You can find stylish options for a relatively low cost, but replacing them will have to be done by a professional.
- Replace the showerhead – New showerheads are designed to save water which is good both for your water bill and the planet. Also, lots of them have a filter in that purifies the water, making it softer and more gentle on the skin and hair. By making this small investment now, you can save money in the long run. Just make sure the new shower head works with your current plumbing or just consult with an expert on what would be the best option for your bathroom.
- Install a bathroom vent fan – If you’ve never had a bathroom fan, you should definitely consider adding one now. It’s the most cost-effective way to prevent mould, keep your bathroom dry and odourless and at the end of the day – save you hundreds from renovating. However, the installation process will most likely involve wiring work, so definitely leave this one to the pros.
- Regrout your shower – Regrouting your shower isn’t a job you need to hire a professional for. Here’s how you can regrout your shower, whether it be with a tub or just a shower cubicle. Clean your tiles, remove any mildew and soap scum from the tiles before you cut any grout out of the joints. Cut the grout to at least half the depth of your tiles. With the replacement grout, angle it at 45 degrees to the tile. Work it thoroughly so there are no bubbles. Wipe away any excess grout while it’s still wet. Apply a high-quality tub-and-tile sealant where the walls meet your tub, and also in vertical corners where one wall meets another.
Fix a leaky tap
Having a leaky tap can be one of the most annoying sounds to deal with. It can also cost you money in the long run. Here’s how you can fix a leaky tap. Before you begin, turn off your water supply.
- Turn on the tap to release any water left in the pipe
- Put a plugin the sink to stop any parts falling down the drain
- Using a spanner, take off the tap’s cover to remove the handle
- Screw and remove the handle
- Unscrew the tap bonnet, and remove the headgear. From here, you should see a large body washer, o-ring and a jumper valve, which should fall off.
- Replace all three items, i.e. the body washer, o-ring and jumper valve with new ones.
- Apply a tap lubricant to the spindle and valve.
- Refit the bonnet and spindle, but make sure you don’t over-tighten the nuts
- Re-assemble your tap.
- Turn the tap off.
- Turn the water supply back on.
Doesn’t sound too complicated, right? Still, when it comes to plumbing, the regulations may vary from state to state. So, stay on the safe side by checking the local laws to learn which plumbing tasks could be carried out by DIY enthusiasts and which require the touch of a professional.
Paint your ceiling
Painting your ceiling is a job you can do by yourself. It’s best to use a paint roller for this job, so you don’t drip paint all over yourself. Don’t forget to lay down a drop sheet! Here’s how you can paint your ceiling like a pro:
- Stir your paint thoroughly
- Cut-in the ceiling with your paintbrush
- Fill your paint tray with the colour paint you’re using
- Place your roller about one metre away from the wall, and make sure you stroke the brush away from you. It’s best to paint the ceiling in a “W” formation. This ensures an even application.
- Apply the second coat – Once you’ve applied the first coat, wait until it dries and then apply a second. Use the same “W” formation as before, you don’t want a streaky ceiling.
Repair cracked concrete
This one is a bit tougher, but it’s going to save you time and money! To repair cracked concrete, follow these steps, and soon you can have a nice barbeque outdoors with your mates! Here’s how you can repair cracked concrete yourself:
- Clean the concrete – ensure there’s no oil or dirt on the concrete. You have to make sure the filler can bond to the cement. If you’re having a bit of trouble getting your concrete clean, you can find a heavy-duty cleaner that cuts through grease and grime.
- Chisel the crack clean – Use an old chisel and a hammer to get rid of large pieces of the crack in the concrete. To do this correctly, you should hold the chisel at an angle and pound the hammer against the chisel. This will chisel out the crack, which is known as “keying” the hole.
- Brush and vacuum the debris away – You should make sure there is no debris left at all.
- Spread concrete filler – slowly fill the crack with the concrete filler. After a few minutes, check the crack to see if it has settled. You may have to add some more but only do this if it doesn’t look tight enough.
- Use a trowel to wipe away any excess.
- Allow it to cure – wait overnight for the filler to settle, and the next day check to see if you need to make any adjustments or add any more to the crack
- Seal the patch and concrete – prevent the concrete from absorbing any stains by applying a protective sealant over the top.
Do you need a hand with a project? We’re here to help
DIY can get you far, but we can get you even farther. If you’re stuck with a home project, we can lend a hand. We offer professional handyman services, including electrical and plumbing jobs. So, if you need assistance with a task, no matter how small or big, contact us, and we’ll take it from there.
COVID-19 notice: We continue to offer our handyman, plumbing and electrical services with all health and safety measures taken. For more information, please get in touch with contact us.
This post was created in collaboration with Ally Feiam, marketing & content creator for MyDeal, an online marketplace with over 25,000 products.
We can help you with your home renovation!
Book a handyman today.
You can book our services in Melbourne, Sydney, Brisbane and Perth!