Refreshing your home with some fresh paint is always a great idea. Changing up the colours in your home can have a tremendous effect on the overall feel of a house. And it doesn’t matter if you will paint the whole room or just add some accent to a wall.
Doing some paint job around your house is a sure way to upgrade your interior design without breaking the bank. If you think about it, this might be the cheapest way.
So, with this in mind, we are here to share a couple of tips and tricks on how to make painting fun and easy. At least a bit.
Tools and equipment you’ll need
Before starting to do any painting work, you should prepare both yourself and the room. It’s always a great idea to invest in some gear. Get some eye protection. Protective goggles are inexpensive, and they will save you a tonne of headaches during the process. Especially if it involves painting a ceiling. You’ll always have to look up, and when gravity does its thing, you’ll end up with paint in your eyes.
Preparation tools
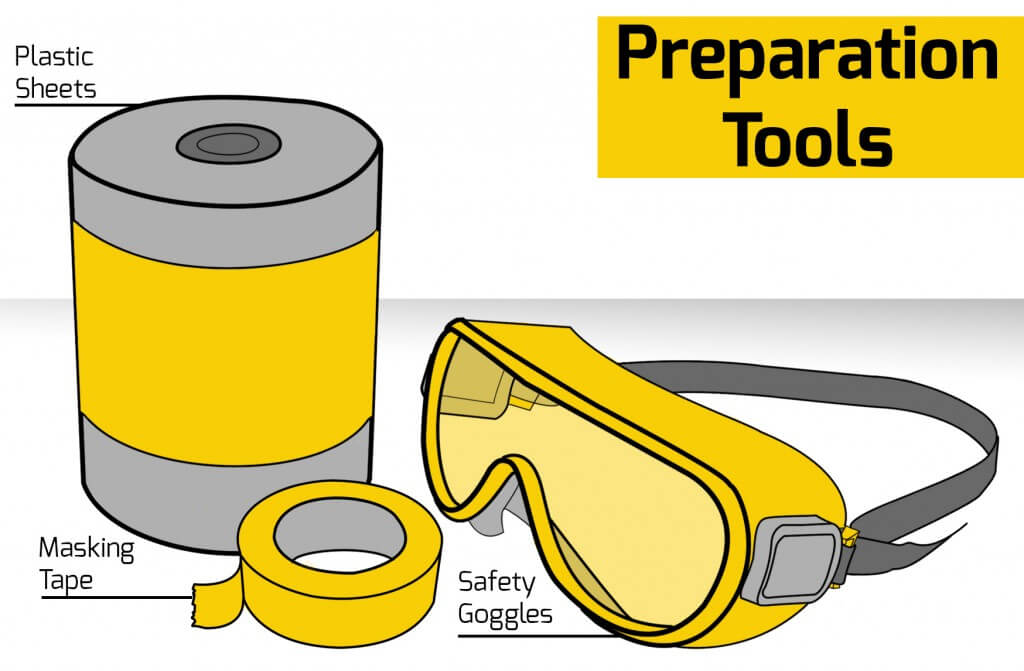
- Plastic sheets
- Masking tape
- Safety goggles
Painting tools

- Paint roller and tray
- Sash brush
- Detailing brush
- Extension pole
Prepare the room for painting
After you have chosen the proper clothing and have all protection gear in place, it’s time to prepare the room. If you are going to paint your whole house then it’s better to call professionals to do the job.
Use making tape to protect the walls
Getting the area ready for work can be a slow process. Take your time with sealing any areas properly to avoid getting paint on them. The best way to protect walls is using masking tape. Get different diameters of masking tape for different areas, as they will do a great job of protecting the things you want to paint around.
Use nylon sheets to cover furniture
Make sure you have enough materials to cover the ground and any furniture that is too big to be moved out of the room. We suggest using nylon sheets as they are inexpensive and can be found in any hardware store. After you are done with your job ensure you are properly disposing of the nylon.
Use nylon sheets and masking tape to cover the floor
Now, you have the safety gear, and you’ve got nylon sheets that cover the furniture that is in the room and also the whole floor. Floors covered in paint would be the last thing that you want after a renovation. Place a big enough nylon sheet and use scotch or masking tape in places you decide can compromise. If you don’t have such big sheets, then tape a few together, it would do the job.
Remove light fixtures
Remove any light fixtures from the ceiling. If the job seems too complicated or you’re unsure if you’ll be able to put them back on, you can attempt covering them with masking tape. Proceed with caution when taking it off. Depending on how strong the glue of the masking tape is and the material of your light fixtures, it might damage them.
Fill holes on the ceiling
If you’ve hanged anything from your ceiling, use a filler to cover the holes. After the filler has dried, sand it and you can proceed with the painting itself.
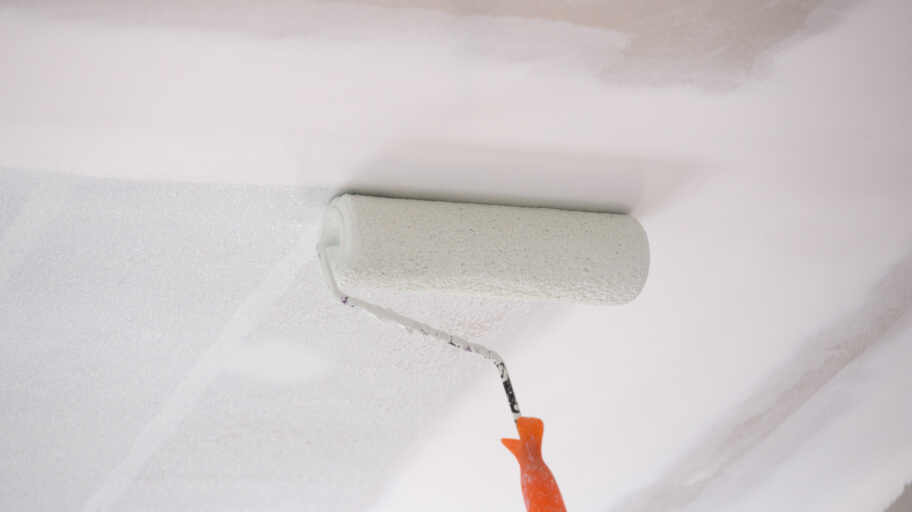
Painting a ceiling – step-by-step
Painting your ceiling requires planning. Here is how you can paint a ceiling, and this step by step process works for any size ceiling.
Here’s how to paint a ceiling:
- Cut the corners of the ceiling first.
Before painting, always make sure to cut the corners where the wall meets the ceiling, especially if you are going to paint with a contrasting colour. Use masking tape for the job. Never leave this for the end. By cutting the ceiling first, you ensure that you won’t have to go too close to the walls and you won’t accidentally smudge the wall with paint. When cutting corners always use lot’s of paint and an angled brush. Make sure to tape the corner of the wall with masking tape for extra protection.
- Divide the area into smaller segments.
Often the ceiling is too big to be painted with a single row. Separate the area into smaller pieces and work your way. Usually, it’s perfect to be divided into four parts, but you can divide it in as many as you need.
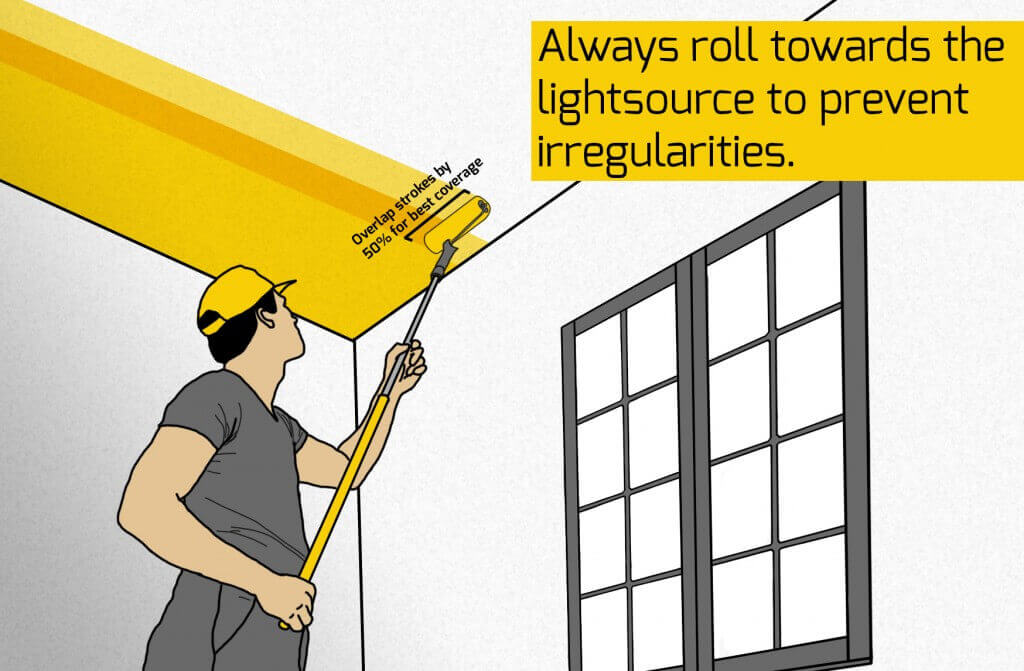
- Roll the roller towards the natural source of lighting.
If you paint the ceiling in the other direction, there’s a chance to see the differences in the coats of paint (if there’s some) once it dries.
- Overlap your streaks by 50%.
When you paint make sure to overlap with the previous roll by no more than half. However, don’t make the mistake of not overlapping enough. After all, you want to have a nicely painted ceiling.
Takeaways
- Painting a room can be quite a challenging experience.
- Following the pieces of advice, we have given above will ensure that you will end up with a nicely painted room.
- Make sure you’re using proper gear and protection.
- To ensure a perfect result, call a professional to paint your ceiling.
We can help you with painting your home!
Book a handyman today.
You can book our services in Melbourne, Sydney, Brisbane and Perth!