If you want to remove your old tiles and you’re enthusiastic enough to do it yourself, get ready for a very sweaty and labour-intensive job. It can be gratifying to complete such a task by yourself, so if you’re a person who’s in search of that experience, this is the right article for you.
We will share with you the correct materials and tools you will need for the job, the process itself, including all the important details, and how much does this cost when a professional handyman does tile removal.
Put on your working gloves, and let’s get started!
Tools and materials to use when removing old tiles
Like any renovation job, the tools are one of the most important things in the entire process. Getting all the right equipment will result in an efficient working process that would deliver the results you’re after, without any harm or damage to your property. Some of the tools you might already have in your possession, while others you might have to borrow from friends or rent from a tool hire company.
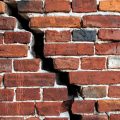
The difficulty of the project mainly depends on how old they are – 20-year-old tiles would be a lot easier to remove than 5-year-old ones. The reason is that the adhesive is probably at the end of its life and is just waiting for someone to peel it off. However, most of the time, you will be able to estimate the difficulty only when you start working.
This is why we’ve prepared this universal list of tools you will need, no matter how big your tile renovation project is!
Full list of the required tools
- Lump hammer
- Cold chisel
- Dust mask
- Knee pads
- Safety glasses
- Vacuum
- Trowel
Remove floor tiles without breaking them
Before you begin working, make sure that you’re wearing the right protective equipment like thick gloves, safety glasses, and knee pads. Sharp tiles can be very dangerous, and you don’t really know what’s hidden under them.
Prepare the area
- Remove all the furniture and thoroughly clean the whole sector from debris, dust, etc.
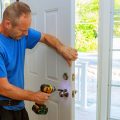
- Carefully remove the baseboards of your walls. Keep them in a separate room if you want to put them up again.
- Seal the vents to prevent them from clogging with building debris. You can use plastic wraps or painters’ tape.
- Cover all the surfaces and furniture that cannot be relocated. Expect a lot of dust during the tile removing process, so to protect your property, just cover it with plastic sheets before you start.
Removing tiles glued with adhesive
This is the better option of the two since the natural tile adhesive, like mastic, is a lot easier to break down than mortar. So here is our advice on how to remove tiles from the floor:
- Go to the furthest, most invisible corner of the room and start from there. Chipped and broken tiles are the perfect place to begin the removal process since they are already halfway gone.
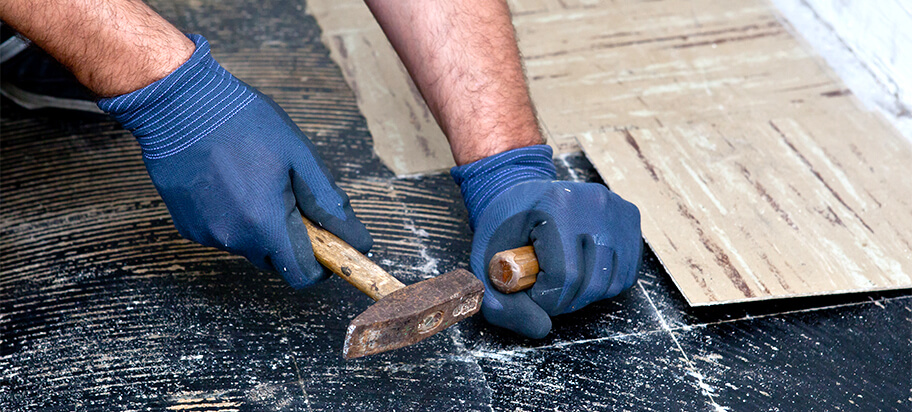
- If you don’t see any broken tiles, create one! Start from the corner of the tile and carefully lift it up with a lump and a chisel.simply crack the area with a hammer.
- Another thing you can do is simply crack the area with a hammer. Hit it hard enough so that it breaks but not too hard so that it would damage the flooring underneath.
- Once that first tile is gone, the others will easily follow. If you encounter some stubborn ones, pry them up with a bar or use the chisel and lump again.
- Continue until you are done with all the flooring and clean up the tiles.
- Remove the grout and tile adhesive with the tools or a special adhesive remover.
- If you decide to go with the remover, make sure to carefully read the instructions and strictly follow the procedure.
- When you’re done, open some windows to eliminate the fumes and pat yourself on the back since it probably took a while.
How to remove floor tiles installed with mortar
Mortar is another way of attaching tiles to different surfaces, however, it’s not as common as tile adhesive. It’s a bit more difficult to spread and use in general, which is why most people just go with mastic. Another reason why many builders avoid it is that it’s a tad more difficult to remove. Still, difficult does not mean impossible, and we are here to help you with the process!
- Place the chisel at the edge and start hammering to break the tile into manageable sections.
- Break the tiles and mortar and put the waste in a bucket immediately so you have a clean working area at all times. Similar to the previous method, don’t apply too much pressure when using the hammer so you don’t damage the floor permanently.
- Work slowly and when you encounter difficulties removing a certain tile, don’t get too frustrated. Removing mortar just takes longer than the adhesive.
- Investigate the underlayment – you might come across a cement tile board laid over a timber floor. In this case, the adhesive might be too hard, and the best call would be removing it together. If you remove the old underlayment, you will secure yourself a better finish also.
- If not, you can remove the underlay by heating it up with a heat gun and then scraping it with a small knife.
If you don’t know what to do with the trash, take advantage of our building waste disposal services.
Finishing up
Now that you’re done, it’s time to clean up your working space. Use a broom for the larger debris and then go with a vacuum to take care of the dust.
After removing all the tiles, you will notice that they scraped off the adhesive and got rid of the underlayer. There are probably some uneven areas with holes and lumps that need to be fixed. You can do this by applying thin-set mortar to the holes and scraping off the lumps.
Call the Professionals
If you don't have it in you to finish off such a tedious job, then book a tiling expert.
You can book our handyman services in Melbourne, Sydney, Brisbane and Perth!
Cost of removing a tile floor
The cost of removing old tiles usually depends on how large the area is. In Australia, the hourly rate for this service varies between $45 and $150 – both for ceramic and stone tile floors. If you decide to seek professional help, use only one team to remove the old tiles and lay the new ones. By having the same person complete both jobs, you can rest assured that the whole process will be well-thought-out, and the base will be correctly prepared.
Takeaways
- Removing old tiles could be a hard task but if you’re enthusiastic enough and you have the right equipment, it can turn into an interesting home project.
- Don’t forget to wear protective clothing.
- Investigate what’s underneath the tiles to choose the correct removal process..
- Prepare the room properly and secure all vents.
- Hammer and chisel might be enough, but don’t use too much force to protect from damaging the floor.
- Have patience and if you get too frustrated, just take a break!
Book your service
Don’t have time to do this by yourself? Trust the professionals with Fantastic Handyman Australia to do the job for you!
You can book our handyman services in Melbourne, Sydney, Brisbane and Perth!