Concrete surfaces are common in the gardens of most Australian households. Does your stencilled concrete driveway need a refreshed look? Or did you just move to a new house with old-looking concrete? You can refresh your stencilled patio, pathways or driveways by simply painting over them. Concrete is a porous material that can be painted over if the surface is cleaned and prepared properly.
What is stencilled concrete?
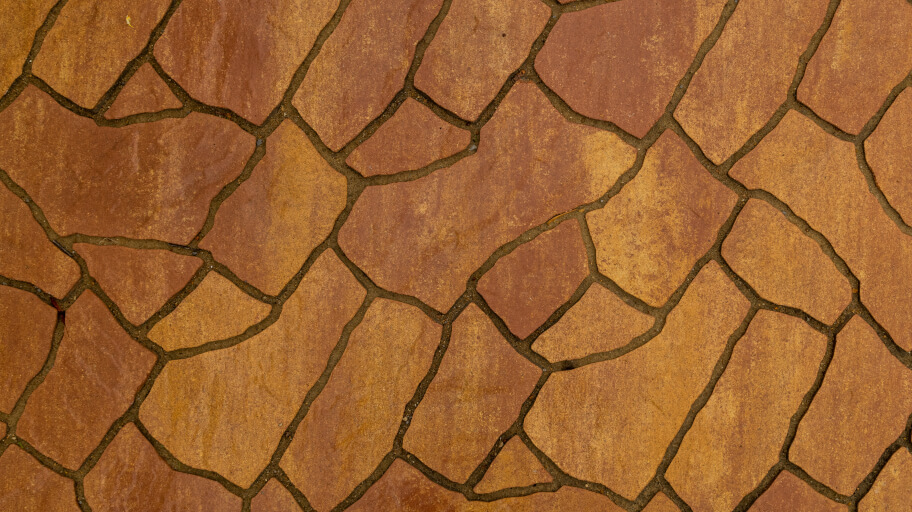
Concrete can be decorated with different styles and themes, using stencil patterns and colours. You can design a stencilled driveway or patio coordinated with the overall look of your garden. Stencil concrete can mimic stones, marble, tiles. It can be used on driveways, pathways, patios, pool areas, bbq areas, gardens etc.
Can you paint over stamped concrete?
Repainting a stencilled concrete surface is a more challenging job than freshly painting it. Old concrete is covered with sealers, old paint, and dirt, making the job difficult but not impossible. Stamped concrete doesn’t have a smooth surface and has rough joints. Repainting it the wrong way may result in chunks of paint collected on those pocks. This is why recommended to hand paint stencilled concrete.
How do you paint over stencil concrete?
To achieve a long-lasting result, you need to carefully prepare the area first. If there are any moisture problems – leakages, water running through cracks, you need to solve them before proceeding to the painting. If there are holes in the concrete, you need to fill them with mortar.
Follow this step-by-step guide of how to paint over stencil concrete.
Step 1: Clean the area
Before proceeding with painting the surface, you need to make sure it’s clean. Clear out the concrete by removing anything on its way. Sweep the surface. Prepare a mixture of water mixed with etch primer. Scrub the whole area using a stiff broom. Leave the primer on the concrete for 20 minutes, then wash it away with water using a garden hose pipe. Leave the area to air dry.
Step 2: Remove the existing paint
After the area is cleaned, you need to scrape off any remaining old paint from the surface. Scrape off areas with loose paint using a putty knife. Then, apply paint stripper according to the type of paint – use oil-based one for areas covered with oil-based paint and water-based for areas covered with this type of paint.
If you’re not sure what type of paint is used, we recommend using an oil-based paint stripper.
After covering the whole surface with a paint stripper, let it sit for 7-8 hours. This should cause a chemical reaction, which will result in removing the paint. Wash off the area with a wire brush and water.
Step 3: Put masking tape on the edges
If the concrete area has surrounding areas, you need to mask them with tape to avoid getting paint on them. Mask edges, garden endings, doors and walls to protect them.
Step 4: Apply the first layer of texture primer
Use a paint roller and apply a thin coat of texture primer throughout the whole area. The primer will reach the grout line. Wait 2-3 hours for the primer to soak into the surface and dry out completely. This way, you’ll protect the lines afterwards from the paint bleeding under the stencil.
Step 5: Place the stencil sheets
Stencil sheets can be found in 45 or 90 square meters adhesive paper rolls. Some types have wax paper on them which should be removed before placing on the concrete. Place the stencil on the concrete using pressing moves. Roll out the stencil throughout the entire area and cut the edges, so it fits perfectly.
Step 6: Apply one more layer of texture primer
Apply one thick coat of texture primer to ensure good coverage of the entire area. Let the primer soak in and dry out for two to three hours.
Step 7: Apply paint
Apply a coat of paint throughout the area using a paint roller. Start on the back of the area, using back and forth movements. Wait for the paint to dry to touch and apply one more layer to ensure a saturated and bright colour. Leave the paint to cure for at least 24 hours.
As the concrete cures, the porous surface exudes moisture and the paint stick to the surface better. While the paint is curing, don’t drive over, walk or put heavy objects on the surface.
Step 8: Remove the stencil
Wait until the paint dries out completely. You can leave the area with the stencil overnight or for three to four hours and remove it carefully the next morning.
Step 9: Apply two coats of sealer
Apply two coats of sealer to seal the paint and protect the surface.
What kind of paint do you use on a stencilled concrete driveway?
There is a wide range of painting solutions for concrete surfaces. Stencilled concrete is not as smooth as a regular one, so you need to use high-quality paint to fill the pores and spread evenly through the surface.
Oil-based paint is more durable and fills out porous surfaces great, making them excellent outdoors, especially for a concrete surface. Alkyd or latex paints have a shorter drying time than oil-based paint, but they are not as durable as they’re not able to fill out porous surfaces.
Whatever type of paint you choose to use, have in mind that you need to use the same type of primer as well. This way, the paint will chemically bond with the concrete.
Do you need to paint your home?
Leave that to the professionals!
You can book our handyman services in Melbourne, Sydney, Brisbane and Perth!


