The Fantastic Handyman team hung a 32" TV safely & securely in a living room

A Melbourne based customer requested a 32’’ flat TV to be mounted on the wall. The TV was supposed to be mounted in the living room across the couch. The customers let our professionals pick the right height taking into consideration the optimal viewing angle. A handyman was entrusted with the job to install the brackets on the wall and install the TV.
The handymen always come prepared with the necessary tools to do the job.
If you don’t have your own set of TV brackets, the handyman can purchase them for you. The price of the product will be added to the final bill.
First thing first, the TV installer will examine the wall and made sure that the wall can hold the TV weight and if it's possible to be drilled in.
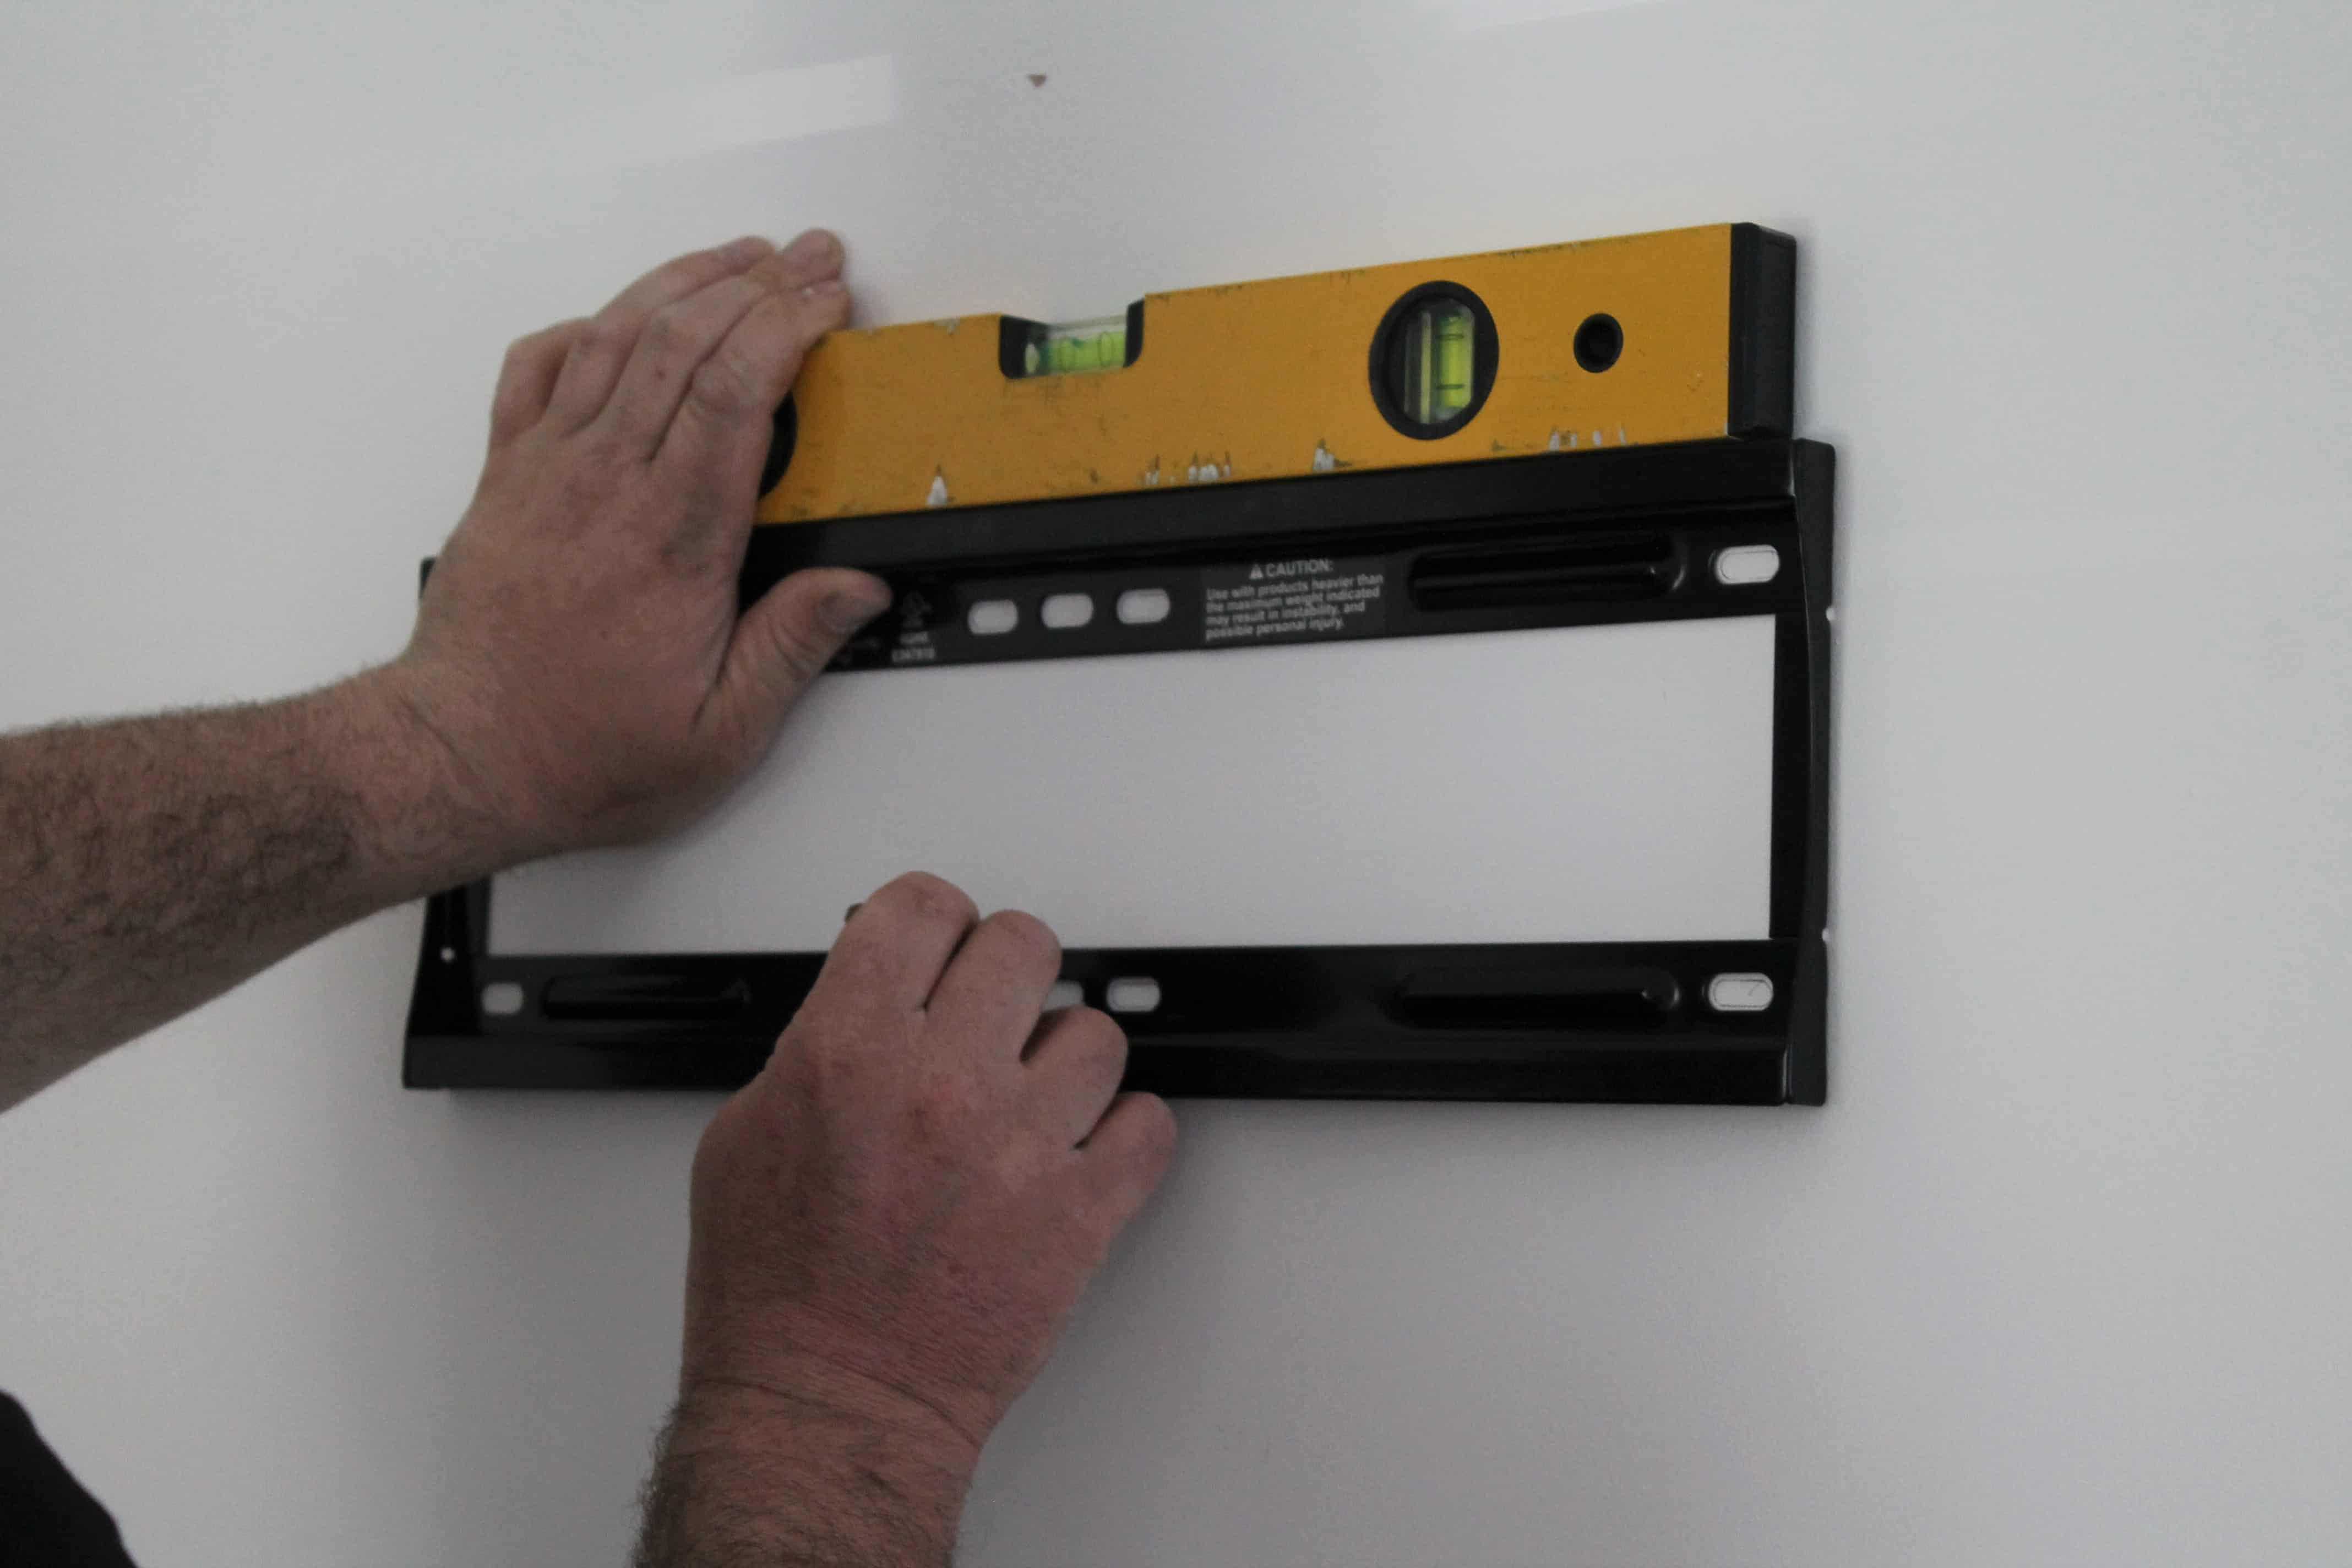
The TV installer took measures of the height of the wall and carefully examine the entire space. He took into consideration the layout of the room and the size of the couch and defined the optimal viewing angle. He recommended placing the TV on an eye level to the customers and they agreed.
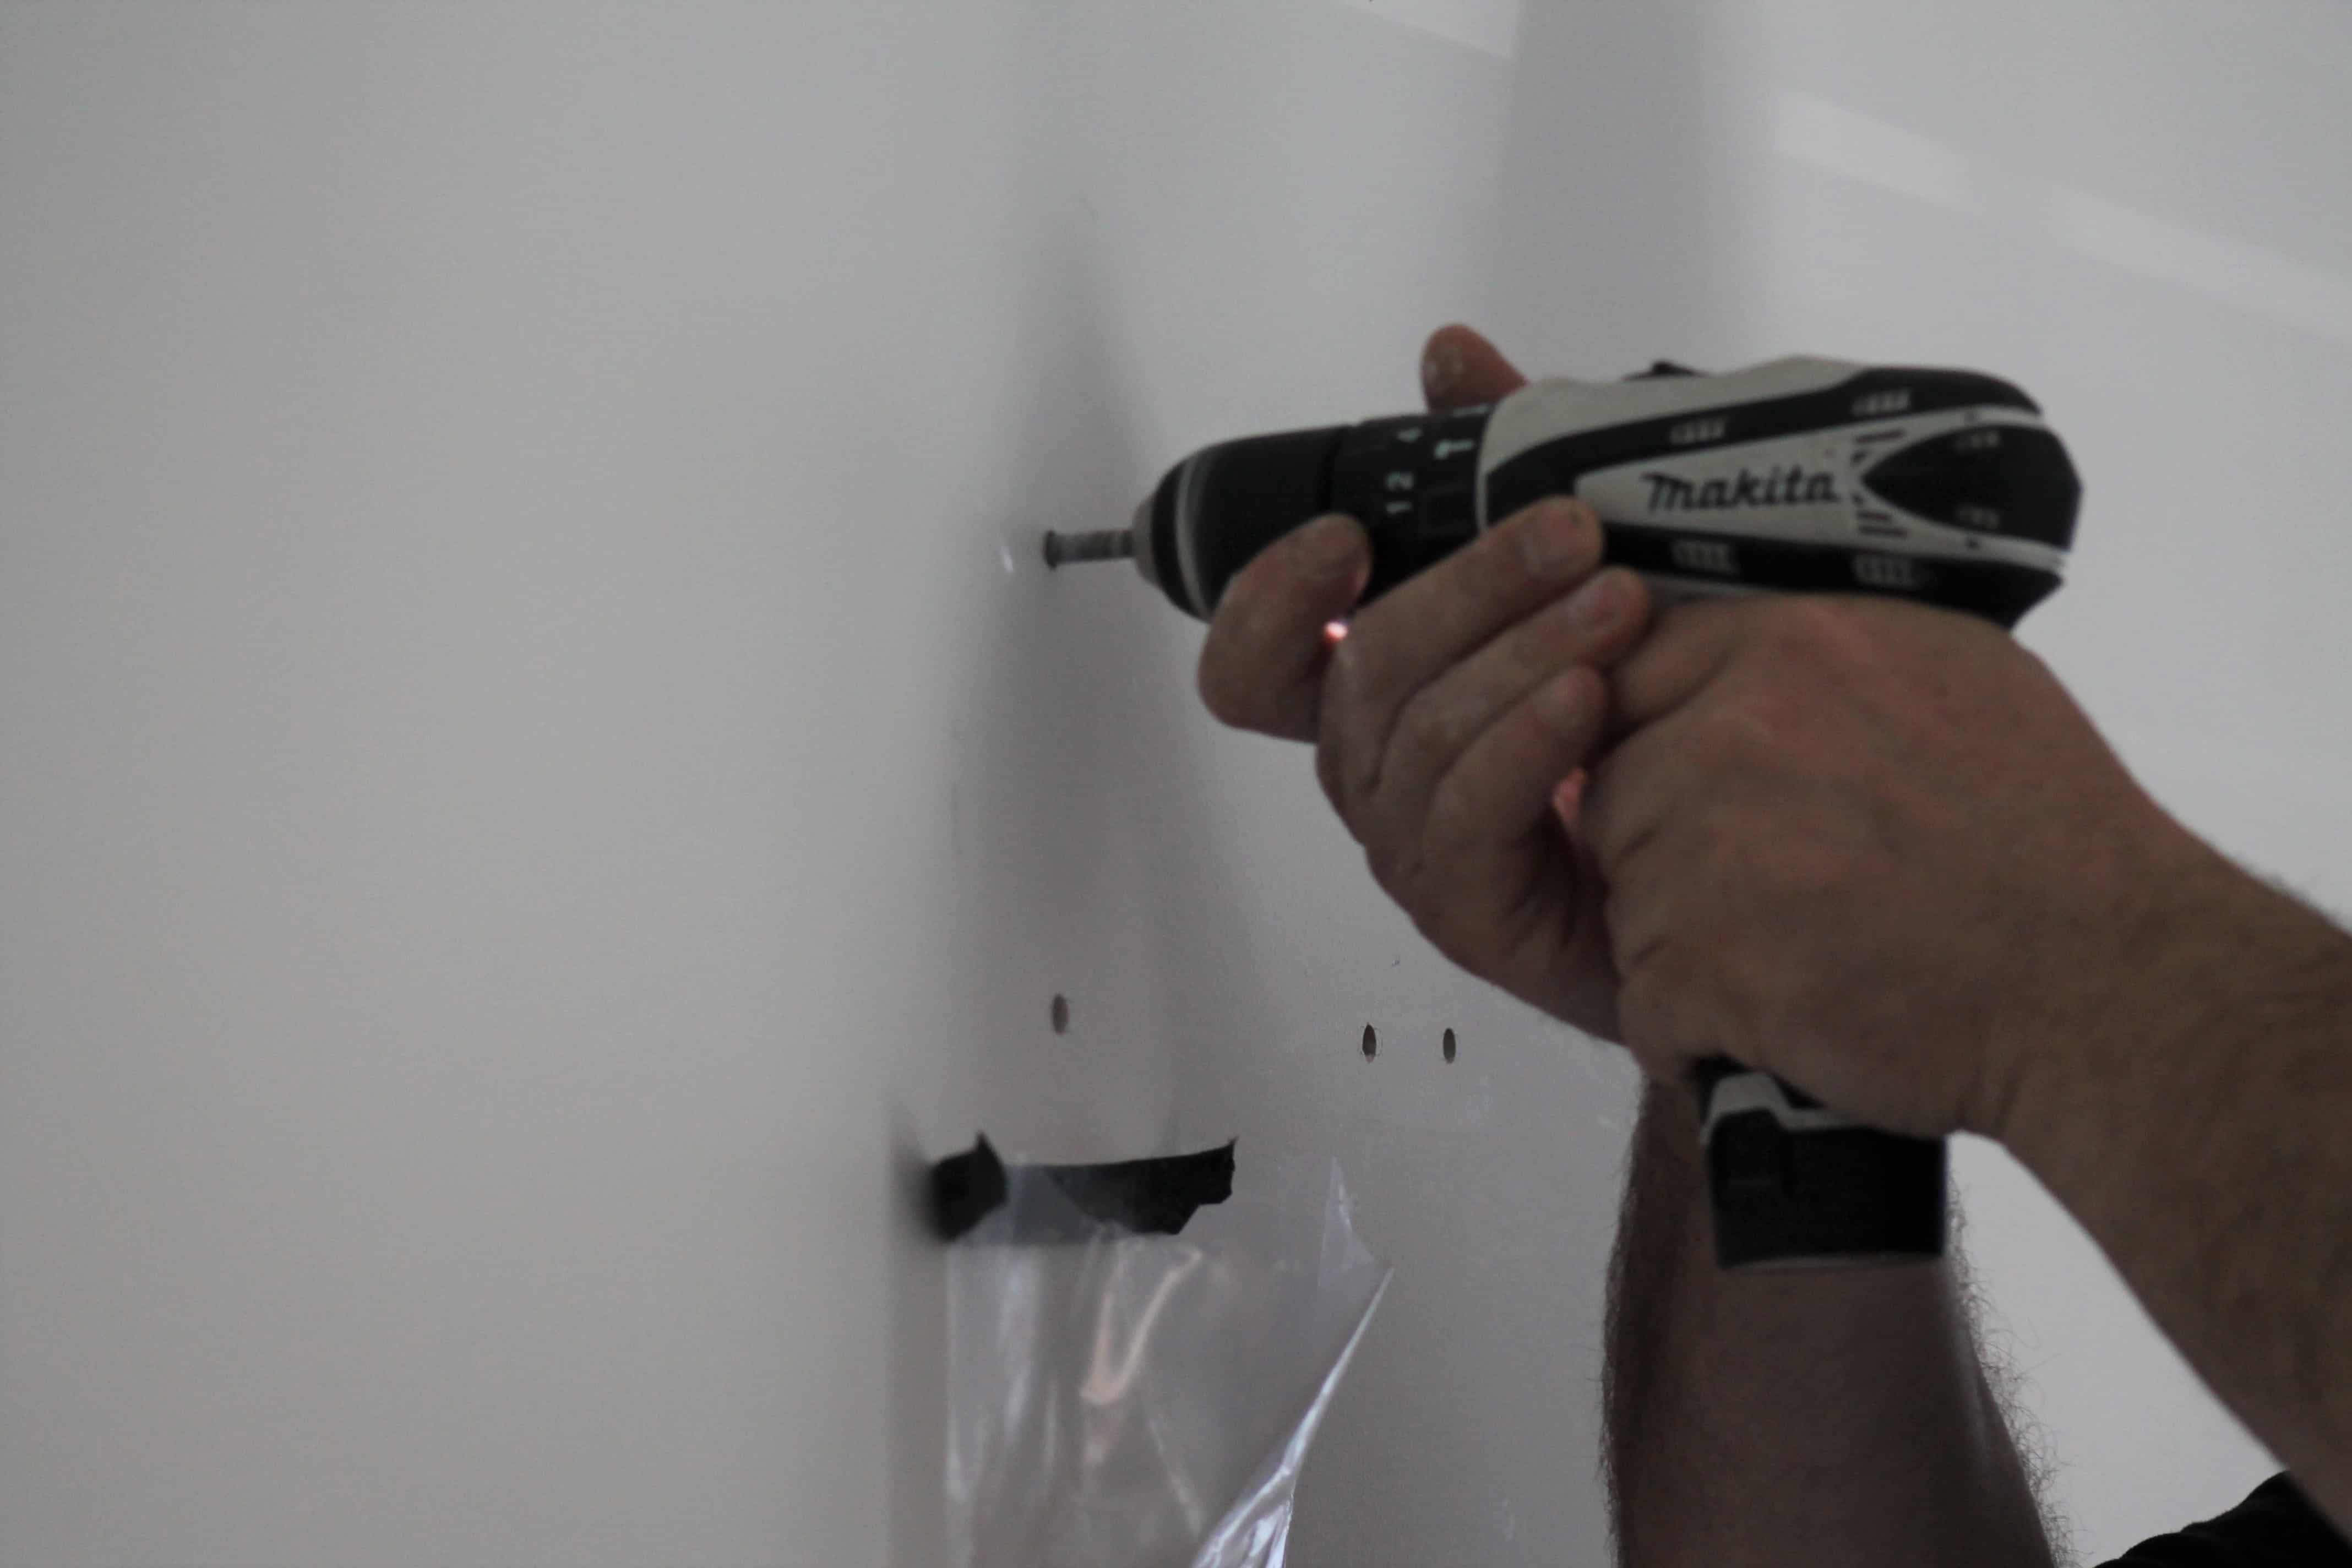
Afterwards, the handyman marked the spots where the holes for the brackets were supposed to be drilled.
The TV installer drilled pivot holes on the marked positions. The holes were supposed to be a little bit smaller than the bolt size. After that, he drilled the "normal" holes for the bolts and secured the mounting brackets and screwed them tightly.
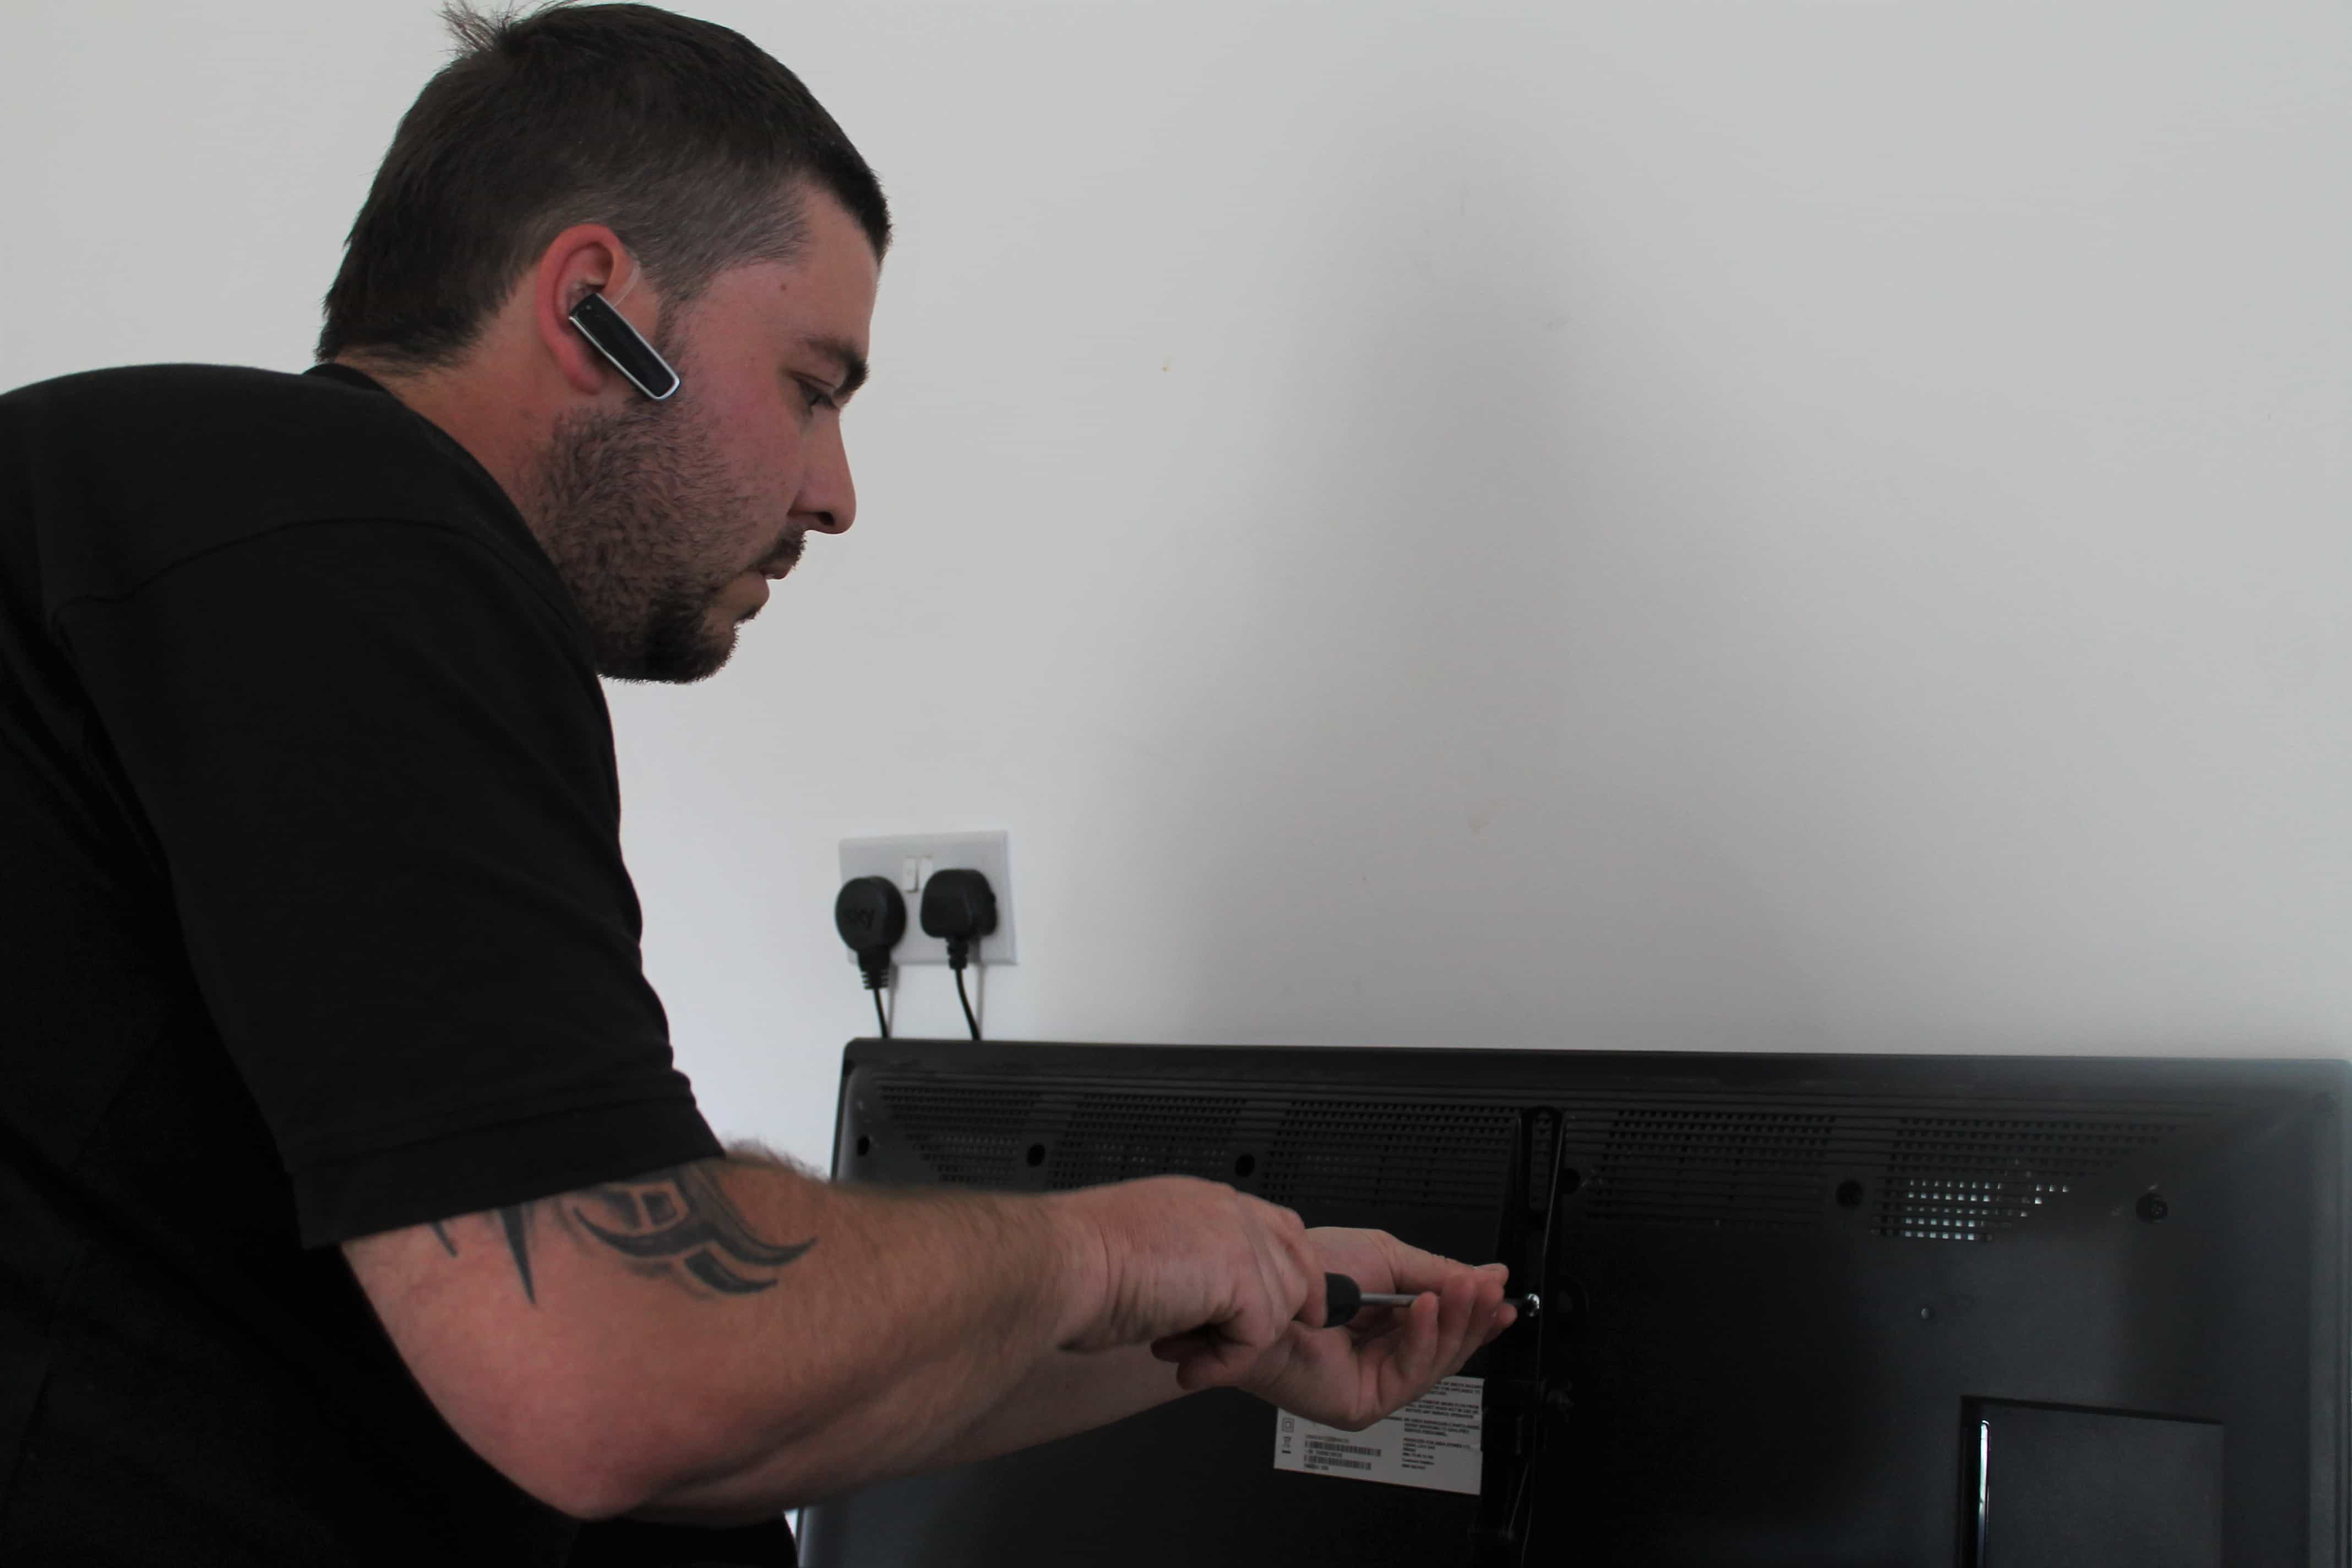
After he was done with the wall, he attached the brackets to the TV. To do so, he placed the TV on the floor with the face down. He laid it on a soft surface to avoid damaging the screen. Then attached the mounting bracket to the back of the TV carefully tightened the bolts with a screwdriver.
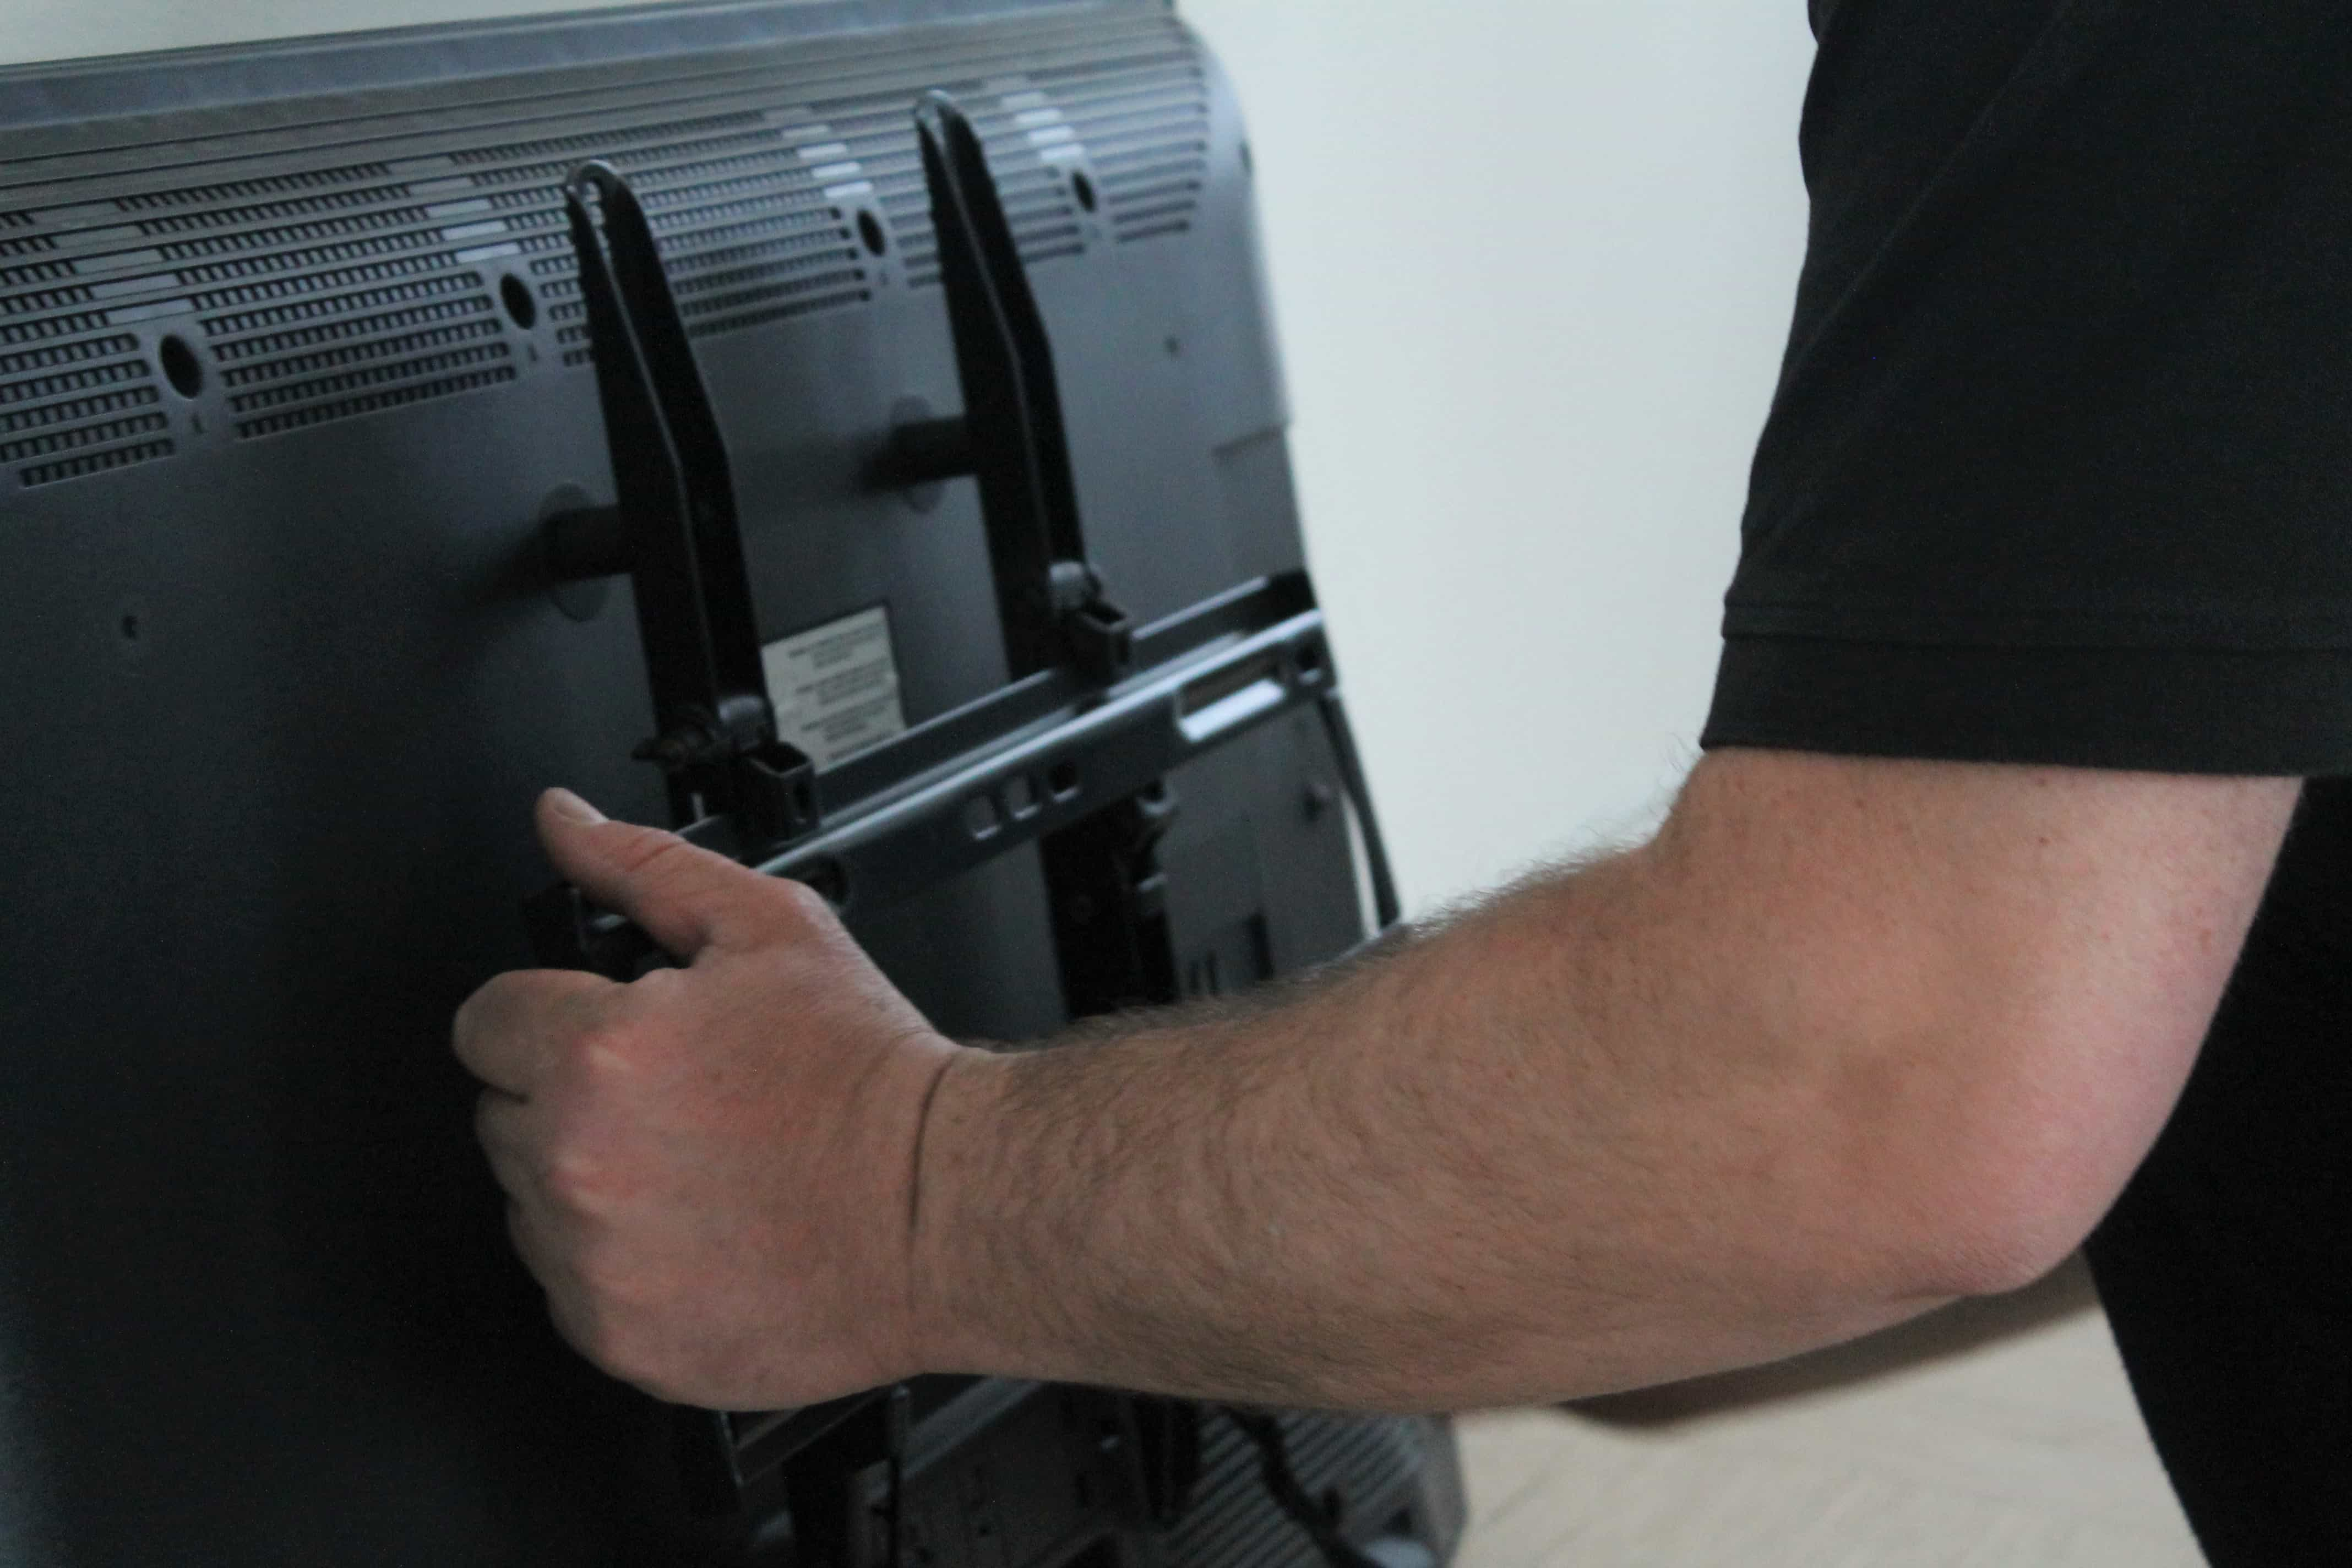
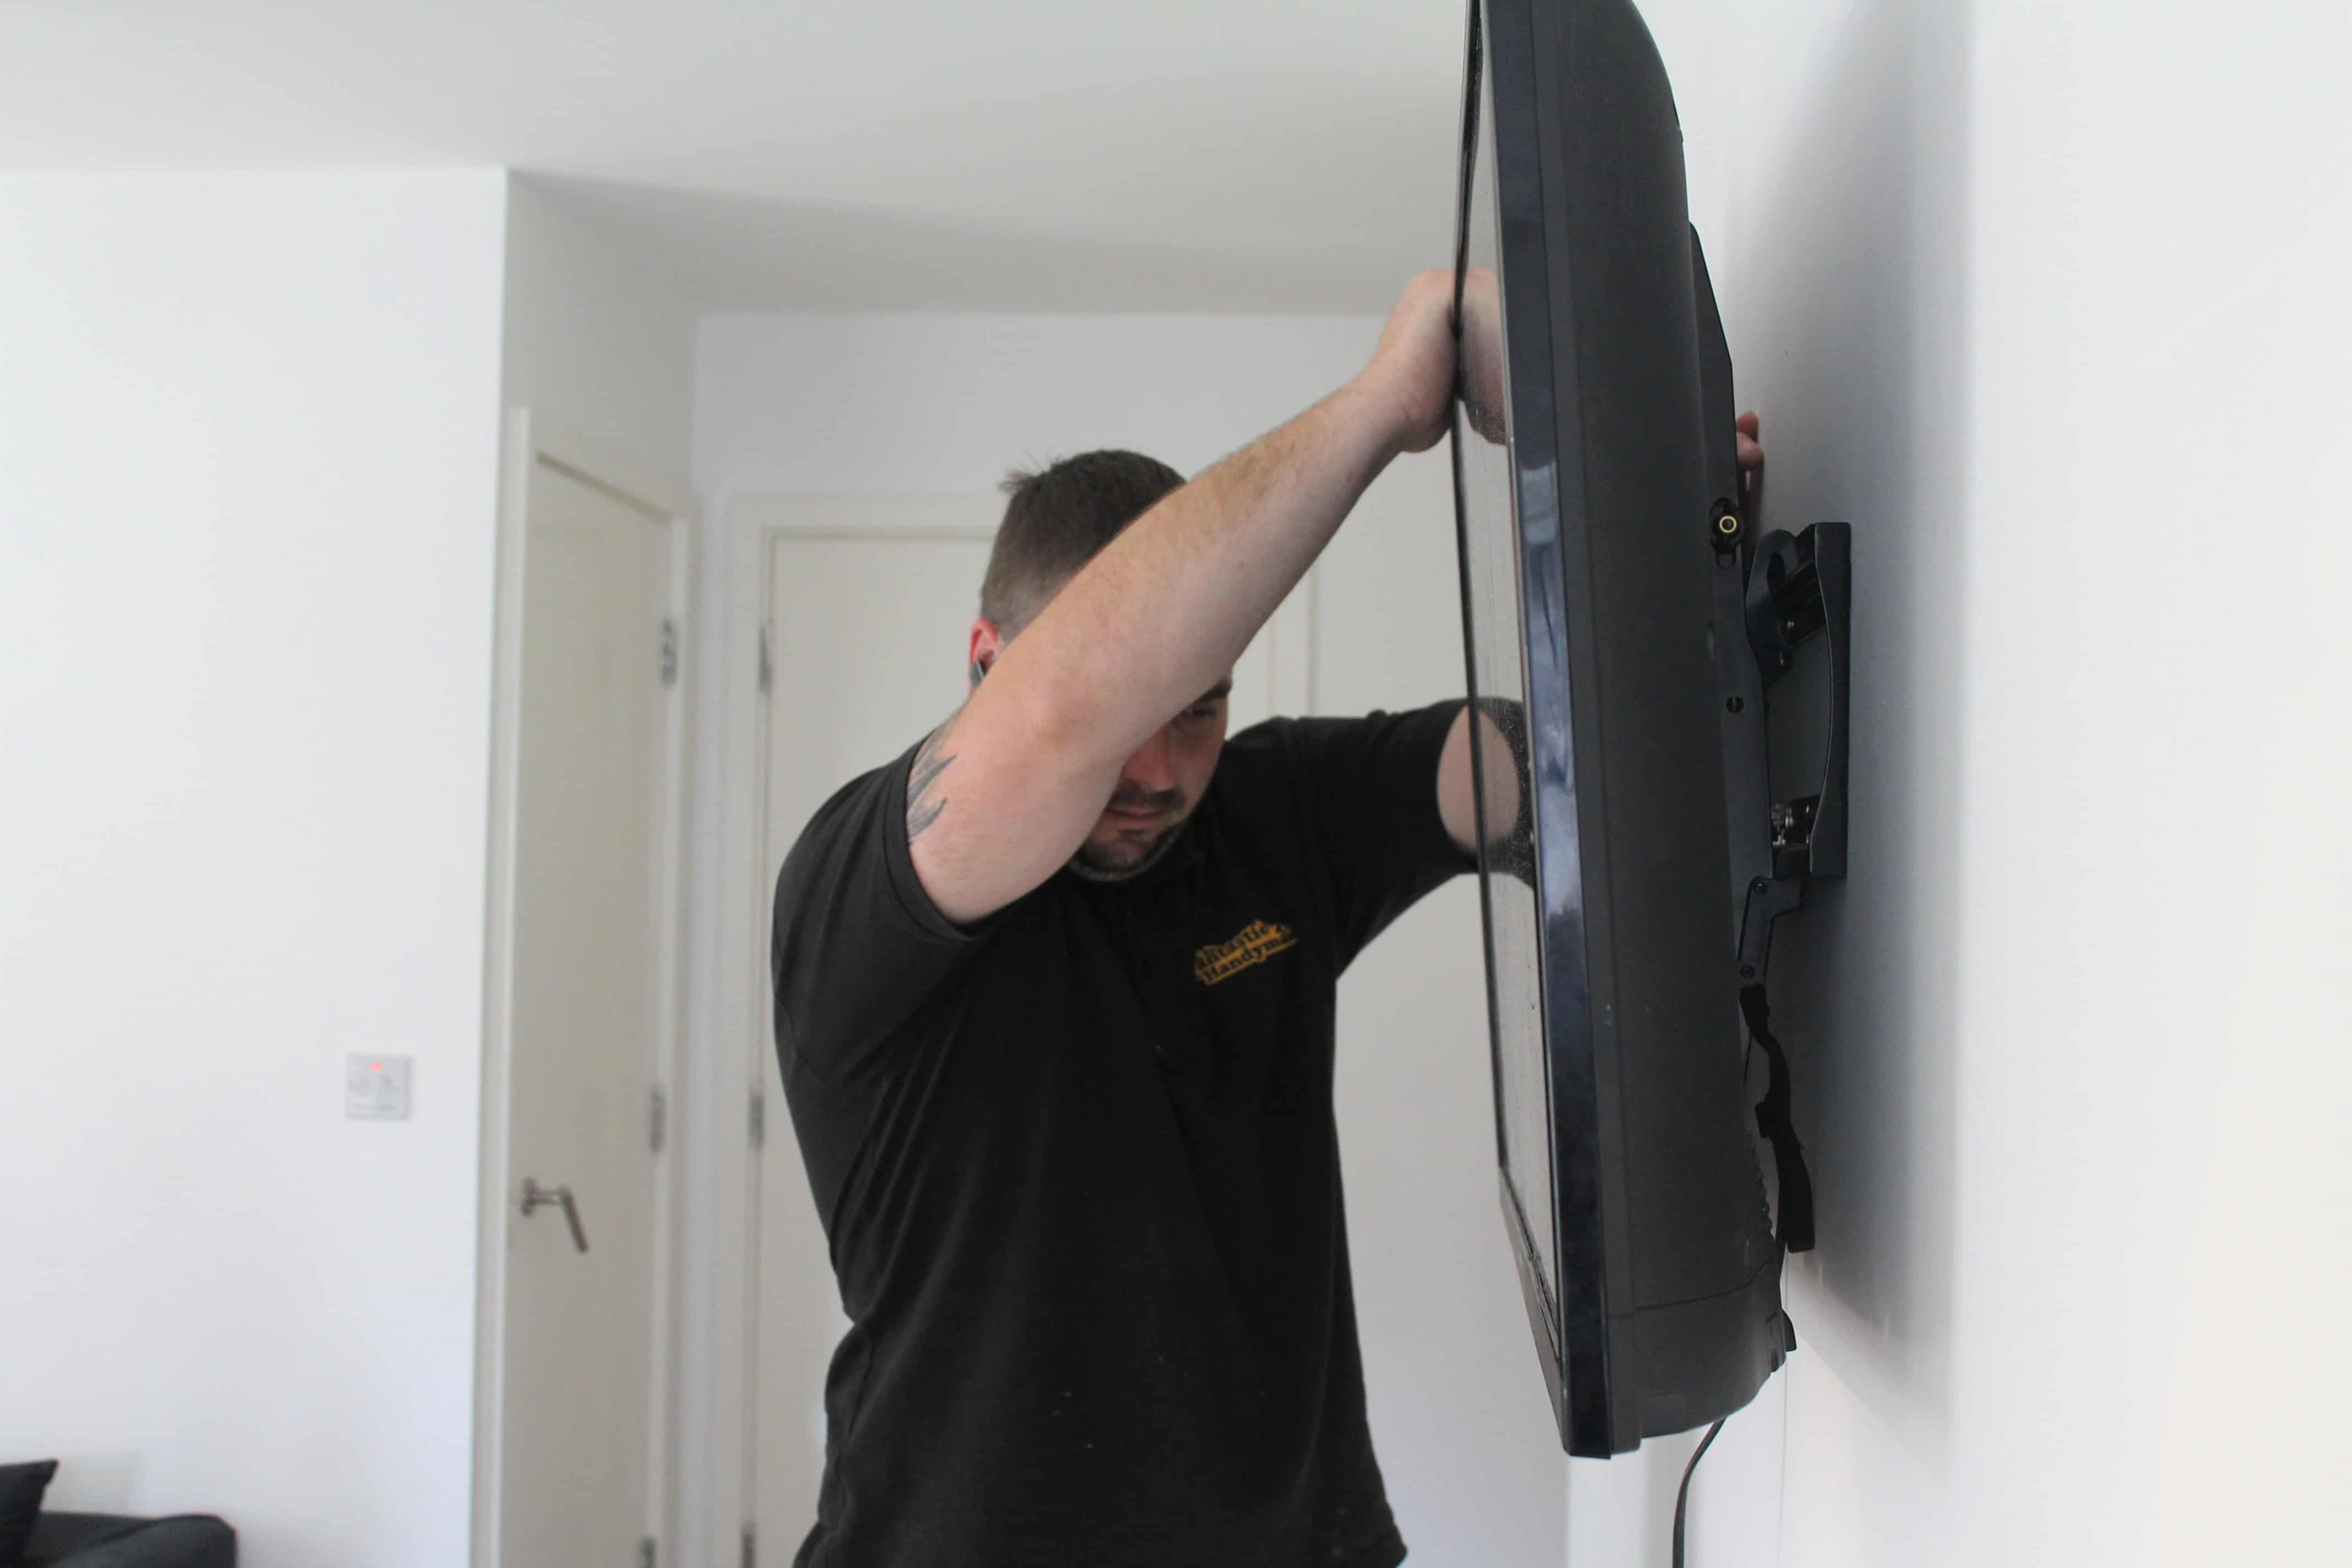
Finally, the installer attached the TV on the bracket system on the wall making sure everything is well-placed and secured. He tested the whole unit making sure that no accidents will occur.
The happy customers are now enjoying lazy evenings with their kids in front of their freshly installed TV.
The handyman did a great job advising us where to install the TV. He did the job quick and professional. Definitely, recommend!
June 10, 2019
Set up your own handyman franchise business with a minimum investment.
Get guaranteed work by becoming a Fantastic Services partner.
join nowPart of
